
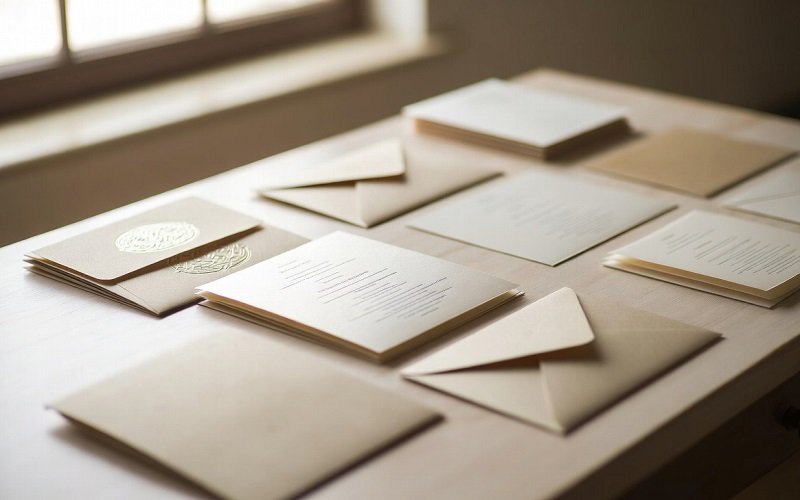
You send out the details and hope people show up. Then the room stays half empty. Learning how to print custom invitations for seminars and client events changes that outcome. A well-made printed invite feels personal, stands out from crowded inboxes, and gives people a clear reason to mark their calendars.
This guide walks you through practical steps that work. You will see what to include, how to design quickly, where to print without wasting money, and simple habits that raise attendance.
Why Printed Custom Invitations Still Work Better Than Email Alone
Digital messages get lost. A physical card lands on a desk or kitchen counter and stays visible. One event organizer I know switched from pure email to printed cards for a 60-person workshop. Attendance jumped from 38 percent to 71 percent in a single month.
People treat a printed piece as more formal. They open it, read the details once, and decide faster. The card also acts as a quiet reminder every time they walk past it.
Keep the design clean. Too many graphics or long paragraphs make people put the card down. One clear headline, the key facts, and a simple next step produce better results.
Plan the Content Before You Design Anything
Start with the basics every guest needs:
- Exact date and start time
- Clear location or virtual link
- Short description of what they will gain
- Easy way to reply
Write the headline first. Make it benefit-focused. Instead of “Seminar on Friday,” try “Learn Three Ways to Run Smoother Client Meetings.”
Add one short tip or insight on the back or side panel. Example: “Bring one challenge you face right now—we will discuss solutions live.” This small extra detail makes the invite feel useful before the event even starts.
Decide the size early. A standard 5×7 folded card fits most envelopes and feels substantial without costing extra postage.
Design Custom Invitations for Seminars in Under 30 Minutes
You do not need design software experience. Free tools like Canva or Adobe Express give you ready templates.
Open a professional event template. Replace the sample text with your details. Choose two colors only—one dark for trust, one accent for energy. Navy and soft gold work well for most professional crowds.
Upload a simple logo or icon if you have one. Keep it small so it does not fight the text.
Add a QR code that links straight to an RSVP form. Guests can scan and reply in seconds. One planner tested this and saw 40 percent of replies come through the code instead of phone or email.
Proof the design on screen first. Then print one test copy on regular paper. Check for typos, cut-off edges, and readability from arm’s length.
Choose the Right Paper and Printing Method
Paper quality changes how the invite feels in someone’s hand.
- 100 lb matte cardstock gives a solid, professional touch without glare.
- Recycled or FSC-certified stock appeals to people who notice those details.
- Avoid thin paper—it bends in the mail and looks cheap.
For small runs under 100 cards, home printing or a local copy shop works fine. Set the printer to the highest quality setting and use the correct paper type.
For 150 or more, online printers such as Vistaprint or a local print shop often cost less per piece. Order a day or two early so you can check the first batch before mailing the rest.
One team printed 200 cards at a local shop for $0.55 each. They included a matching envelope and still stayed under budget.
Best Practices That Raise Reply Rates
Personalize the name whenever you can. A card that says “Dear Alex” performs better than a generic version. Many print services now offer simple mail-merge options.
Mail the invitations 2–3 weeks before the event. Earlier feels too distant. Later leaves too little planning time.
Track replies in a simple spreadsheet. Note who responded and who did not. A short follow-up email or text three days before the event lifts attendance another 10–15 percent in most cases.
Include a clear call to action: “Scan to save your seat” or “Reply by [date] so we can prepare materials for you.” Vague language lowers response.
Common Mistakes to Skip
Crowding the card with every possible detail. Leave white space so the eye rests.
Using hard-to-read fonts or light gray text. Stick to clean sans-serif or classic serif at a size people can read without squinting.
Forgetting the return address or RSVP contact. Guests need an easy way to ask questions.
Sending the same design to every group. Adjust the tone slightly for different audiences—warmer language for community groups, tighter and more formal for professional circles.
Put It All Together and Measure Results
After the event, note the final attendance percentage. Compare it to your last email-only invitation. Write down one change you will make next time—better paper, clearer headline, or earlier mailing date.
Over three or four events you will refine a system that feels almost automatic. The printed invitation becomes a reliable tool instead of a last-minute chore.
You now know how to print custom invitations for seminars and client events that people notice and act on. Pick your next gathering this week. Open a free design tool, build one clean card, and print a small test batch. Then mail them and watch the replies come in.